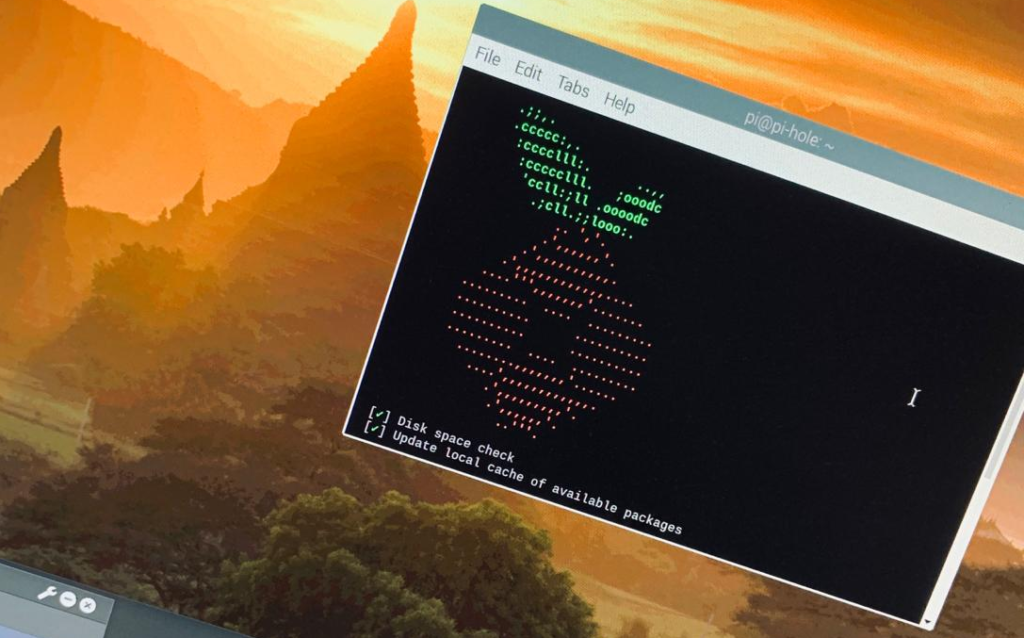
PiHole: A DNS Sinkhole

During the freshers week of my postgraduate degree at university, the student-led security society held a CTF with some neat challenges. A CTF usually consists of a series of challenges which range in difficulty. Upon completing a challenge, your team is awarded an according to the level of points depending on the complexity. Some example CTF categories could be:
- Web exploitation
- Forensics
- Crypto
- Pwn
- Reversing
- OSINT
- Trivia
Some example CTF categories could be: Some more detailed information regarding CTFs is seen on ctftime.org.
I used the freshers CTF as a team-building experience to get to know the students which I would be working alongside with for the upcoming year. At the end of the 4-hour hustle, our team named WeWantPizzaended up getting first place! As a winners prize, we ended up winning a Raspberry Pi 3b+ each – a fantastic gift!
I could write a whole blog post about why the Raspberry Pi is such a handy device to keep in your toolkit, but here is why I would generally recommend you to buy one (even if you already have one, there’s always reasons for more)! The diversity of projects which you can do with a Raspberry Pi – you can probably do just about anything you want. Sure there is a limitation with the ARM architecture, but there are still many projects available to the Raspberry Pi. In my opinion the limitation is imagination rather than the architecture. The diversity coupled with the low upfront cost (approximately $10 for the Zero W) makes it easy to get into.
Putting the Raspberry Pi to good use
I didn’t have much experience with the Raspberry Pi (RPi), so I decided to take that as an opportunity and put this one to good use! In the pursuit of making my home network more secure, I thought the RPi could be fun to install and implement Pi-Hole as a network-wide ad-blocker.
Some might argue that an RPi 3b+ is a little “overkill” for Pi-Hole; however I figured that I could always re-purpose the RPi later.
A little on Pi-Hole
Pi-Hole is used as a Domain Name System (DNS) server in the network and uses a blacklist of “bad” domains to prevent hosts in the network from connecting to the requested domains, i.e. the advertisements.
It not only blocks possibly irritating ads but more importantly, it will block malicious advertisements/domains that try to infiltrate my machine!
Installation / Setup
The installation and setup of Pi-Hole went smoothly. I followed the installation steps on the Pi-Hole GitHub project page.
wget -O basic-install.sh https://install.pi-hole.net
sudo bash basic-install.sh
After configuring Pi-Hole how I wanted it, I needed to configure my Router to inform DHCP hosts that they should use the Pi-Hole for domain name queries. The Pi-Hole uses external DNS servers to resolve domain names. And that’s it! Some quick testing proved that it was all up and running. Instantly I started to see the dashboard being populated with the DNS queries.
C:\Users\Oliver>nslookup doubleclick.net
Server:  pi-hole
Address:  192.168.1.5

Non-authoritative answer:
Name:    doubleclick.net
Addresses:  0.0.0.0
Closing Thoughts
Installing the Pi-Hole on the RPi was a fun project to get my first experiences with the RPi. I enjoyed it, and it is something that I can recommend to others. It’s not perfect but it’s pretty good! I believe there are ways to tweak the “bad” domain name list, I should take a look!