OSCP Experience
Small disclaimer: I did the “old” version of PWK (now known as PEN-200), I took the exam before all the Windows content was released.
My OSCP Experience
It’s a little surreal for me to hold my OSCP certificate in my hands. I remember about two years ago when someone said that it would be a 24-hour exam followed by a further 24 hours to write up a report. Immediately I said I could never do that and I wouldn’t even consider it. I eventually forgot about it because at the time we had not yet gone into offensive security.
Later in my undergraduate degree, when we started to focus more heavily on offensive security, I realized that I had quite enjoyed it! I thought about becoming a penetration tester and what steps I might need to take to make it happen. Of course, when looking up penetration tester certifications, I rediscovered the PWK course and the OSCP certification. I did some research into the OSCP, and decided that it would be immensely challenging; however, it would be equally as helpful in terms of learning. It would not be highly valued if it were a trivial exam. I decided that I wanted to make it happen in the summer of 2019 alongside my summer internship before I started my postgraduate degree. I ended up purchasing 60 days because of the way it works with the start date. I passed on my first attempt, but I am not a penetration tester yet.
Lab Time
I bought 60 days of lab time, and I aimed to put in about 200 hours over those 60 days, which would give me about 2 or 3 hours a day. It doesn’t sound like much, but I wanted to be realistic while on my internship in the summer.
I knew that I wanted to do the lab report just in case that I would only get 65 points in the exam. I started by completing the exercises. I would read the material in the morning then implement what I had learned in the evening.
When I was ready to start the lab hosts, I had about 50 days left. It sounded like a lot, so off I went into the labs. I enjoyed my time in the labs even though others may criticize that the labs are a little outdated. However, the labs are there to teach methodology, not about the latest vulnerabilities. What I most enjoyed about the lab was that it was a living network of hosts, which could have information on other boxes. I.e. post-exploitation was relevant, which was new to me compared to Hack The Box, Vulnhub or coursework targets which are root and forget style.
There is a little less than 60 hosts in the lab network, so I aimed to root 35 hosts. I realize that there are plenty of hosts which are not “easy” and would probably take more than the 3 hours that I had in the lab time per day.
The days went quickly, and in the end, I rooted 27 hosts, gained access to a second subnet, and got 2 of the “big 4”; Sufferance and Pain.
I booked my exam on Friday at 1 AM. In retrospect, it was a little crazy, but that was that. I got home from work at about 6:30 PM, went to sleep and woke up at midnight.
Exam Time
So midnight arrived, which gave me about 45 minutes to prepare for the exam. The tech check was important here! I checked my dashboard, which was mainly used as a checklist to ensure I had the required documentation.
My exam dashboard, the target hostnames have been altered.
My strategy was to start with the buffer overflow (BOF) and run reconnaissance and enumeration scripts in the background. After BOF, I wanted to tackle 1 – well ideally 2 – of the 20 point hosts. Then tackle the 10 point box to hit the 75 points mark, and try to get the final 25 points.
The BOF went down smoothly, less than an hour. I went off course and went for the 10 point box next because I knew the exploit as soon as I saw the vulnerability. Within an hour, I had gotten 35 points. I was feeling great.
I got an initial shell on a 20 point box, but couldn’t escalate my privileges for about an hour. I decided to switch to the other 20 point box, which I managed to root in about 4 hours. So I was at 65 points (if I were to assume initial shell on 20 point box would be 10 points) after about 7 or 8 hours. I was confident I would cross 70 points within the 12-hour mark. At the end of the exam, I was still at 65 points. I was broken and couldn’t believe that I didn’t make 70 points in the exam. I knew I had the lab report, but I didn’t want to rely on that.
I knew I had to write a good report, so I got some sleep and tried harder on the exam report.
I sent the report close to the 24-hour post-exam deadline. Then the waiting began. I ended up waking to a response from Offensive Security about 48 hours after report delivery, which was surprising for me. I thought it was too quick to be good news, but I jumped out of bed when I read that I had passed the PWK exam and had obtained my OSCP certification.
What I would have done differently
Here are some tips that I would give, which will not spoil the content of the OSCP labs or exam:
1. Do not use cherry tree!
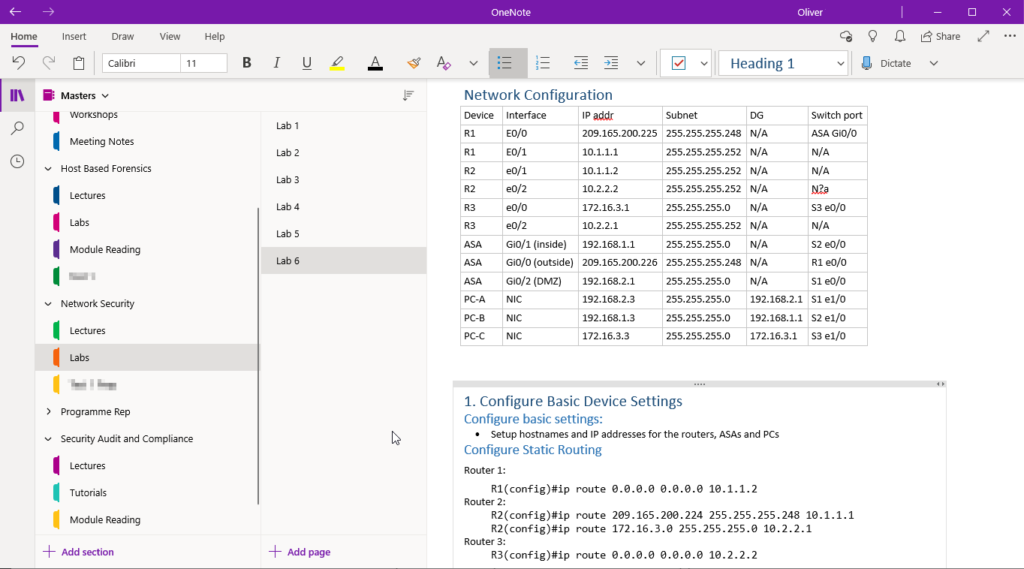
Many people will say that cherry tree is the program to use, but to be honest, I’m not sure that I would recommend it. While I was doing my exercises, the save file had corrupted. I was backing up my save file to my localhost; however, I would have lost about 2 days worth of work. I was not able to open the backup files either, so I ended up using an SQLite Database Browser to delete the most recent edits which I had made. That fixed it, but it was worrying for sure. For the exam, I switched to OneNote, which is similar to Cherry Tree, in my opinion. OneNote has other editing advantages, but I won’t get into those. The main advantage was that I would type into the browser and content would automatically be saved so I could use it on my host machine for the exam report. A little like Google Docs, but with the advantage that OneNote can be structured with trees/branches.
2. Get used to enumeration tools earlier
Tools such as NmapAutomater, Reconnoitre, AutoRecon can all be used to perform reconnaissance in the background for you. As this isn’t a real engagement and we are not worried about detection, we can use them to perform full scans which of course take a while but provide a lot of information. I got used to AutoRecon about 4 days before the exam, but I wish I had used it earlier. They can overwhelm you with the information that they provide in the beginning. But I believe without AutoRecon, I would have failed. It scanned what I otherwise would not have, which was great. This is where the “Try Harder!” mantra comes into play, initially I thought that this service would be unusable, but it was the route to the root. I never actually used reconnoitre – I found out about it too late – but it has been built for OSCP, so definitely worth checking out.
3. Learn to use Tmux or Terminator
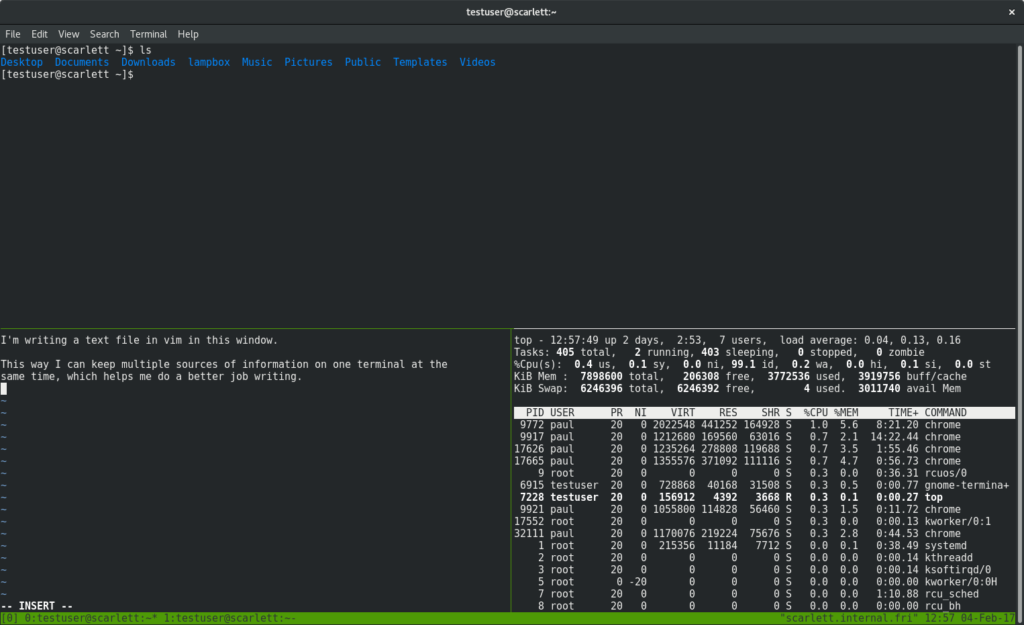
I hacked the lab hosts and did the PWK exam from my laptop. Of course, it can get cluttered with terminals and documentation very quickly. Tmux or terminator can help with this by splitting one terminal window into many, but still being easy to switch between terminals. It’s not so necessary in my opinion but could have made the engagement feel smoother than many terminals spread across the screen.
4. Get some sleep!
I ended up not sleeping in the exam, which was a huge bummer and very foolish. I kept trying to “Try Harder!” to get the final points required to pass outright in the exam, and somehow managed not to sleep. I think it inhibited me in stepping back far enough and asking why something wouldn’t work. If I were to take a future Offensive Security exam, I would make sure to schedule sleep even if I believe it would be a “waste of time”.
Final Thoughs
The OSCP is tough, that’s for sure. But I knew that before I signed up. It was a great experience; I learned to push on when getting stuck, I had my first hands-on experience with buffer overflows; I got a chance to exploit vulnerabilities and enjoy a root dance every time. Most importantly, I practised post-exploitation, which I otherwise had only done in theory.
Perhaps it’s time for me to set up my home lab.
Would I do the OSCP certification again? Definitely!! 10/10


